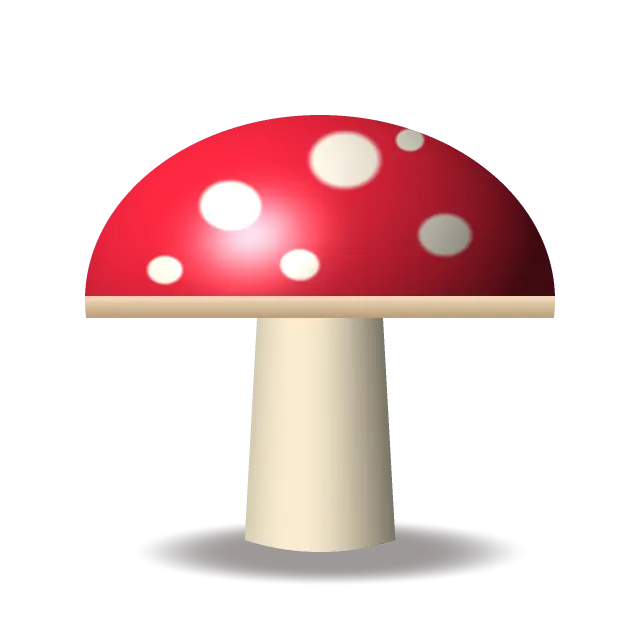
Original illustration
PICO-8 palette, crisp transparency
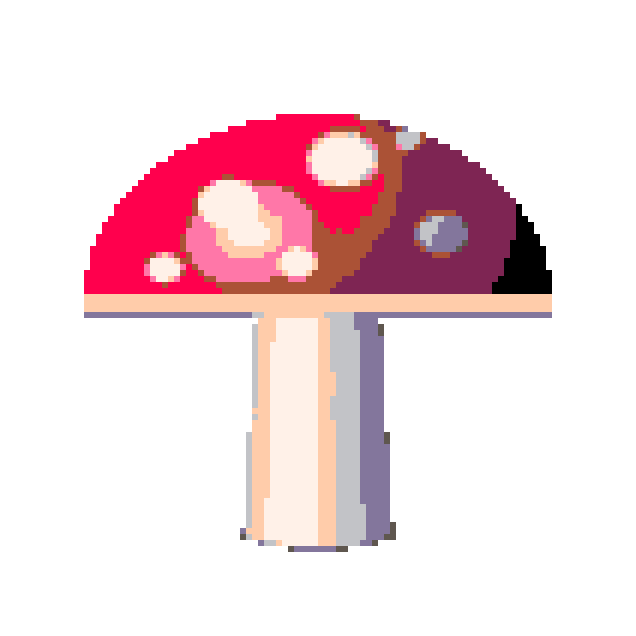
Add up to 30 reference images (up to 50 MB each) and turn them into retro pixel sprites. This page starts with pixel size 6, the PICO-8 palette and crisp transparency, and you can set an exact sprite size (16 to 256 pixels square), switch to NES, Game Boy, C64 or other palettes, and export a PNG, an animated GIF, or a sprite sheet PNG with a JSON frame map. Everything runs in your browser.
Generate retro game sprites from any image
Drawing sprites pixel by pixel takes time. This retro game sprite generator gives you a fast first draft: it converts a reference image into a sprite with a limited palette and a coarse pixel grid, like art made for classic hardware. It works for characters, tiles, item icons and interface elements in platformers, RPGs and puzzle games.
Matching classic console limitations
Each classic console had limits that shaped its art. NES sprites used 3 colors plus transparency on a 256 × 240 screen, which pushed artists toward bold silhouettes. The Game Boy had 4 shades of green on 160 × 144 pixels, so sprites relied on light and dark contrast alone. SNES sprites could use 15 colors plus transparency on a 256 × 224 screen, enough for detailed characters. The Commodore 64 had 16 fixed colors and hardware sprites of 24 × 21 pixels.
The generator includes NES-style, Game Boy, Commodore 64 and PICO-8 palettes, and the sprite size option sets an exact grid such as 16 × 16 or 32 × 32. It doesn't enforce per-sprite color limits, so keep the palette small if you want a sprite that would fit the real hardware.
From reference art to sprites
Start with a photo, a 3D render, an illustration or a sketch. Choose the sprite size or pixel size: small grids give NES and Game Boy simplicity, larger grids allow more detail. Pick a palette, add dithering if gradients need it, and download. Cut-out images with a transparent background give the cleanest sprites, so run photos through the background remover first.
Dithering for game sprites
Dithering suggests more colors and smoother shading than the palette really has. Floyd-Steinberg gives organic shading for characters. Ordered dithering gives the regular patterns many 16-bit games used on backgrounds and large surfaces. The same palette can look very different depending on the dithering mode.
Animations and sprite sheets
Add several images, such as the frames of a walk cycle, turn on Animate, and drag the files into order. The tool turns them into an animated GIF or a sprite sheet: one PNG with all the frames in a grid (up to 12 per row, or a single row) plus a JSON file with each frame's position and duration, in the TexturePacker JSON hash format.
Use in indie development
Pixel sprites are quick to make and animate, and they run well on any device. Generated sprites work as prototypes, art direction tests and placeholders. Most developers then clean them up by hand in a pixel editor before shipping.
Default settings for this tool
Sprites start at pixel size 6 with the PICO-8 palette (16 colors), so the bit depth setting is not used. Dithering is off, which keeps each area a single flat color. Crisp transparency is on: semi-transparent edges become either fully transparent or fully solid, so a cut-out sprite has no soft halo around it. The output stays at about the original size.
Crisp transparency only affects images that already have transparent areas. To export the sprite at its true pixel resolution, set Output size to 1× the pixel grid, which gives one pixel per block.
Frequently Asked Questions
What image size works best for generating game sprites?
Any size works, because the tool scales the image down to the pixel grid. For a 16 × 16 or 32 × 32 sprite, choose that sprite size and use a source image with the subject filling most of the frame. The image is center-cropped to a square when you set a sprite size.
Can I generate sprites that match specific game console styles?
Yes, approximately. Choose the NES, Game Boy, C64 or PICO-8 palette and a sprite size that suits the console, such as 16 × 16 for NES characters. The palette sets the colors, so bit depth doesn't apply. For a 16-bit look without a palette, use 16-bit or 8-bit color depth with dithering.
How do I create a sprite sheet from my generated sprites?
Set the output format to sprite sheet. With several images and Animate on, each image becomes one frame of the sheet in the order of the file list. The download is a PNG with the frames in a grid plus a JSON frame map. With a single image you can generate frames from an effect such as a pulse or zoom.
Is the output suitable for actual game engines?
Yes. The PNG keeps exact pixels and transparency, and Unity, Godot, GameMaker and Construct all import PNG. Set the texture filter to nearest (point) so the engine doesn't blur the pixels. Phaser and PixiJS can read the sprite sheet JSON directly.
Can I use these sprites in commercial games?
The tool places no restrictions on the output. Make sure you have the rights to the reference image, since the sprite is derived from it.