Quick answer
Open the photo to pixel art converter and add your photo. Set the pixel size first, because it decides how many blocks the picture is made of. Then choose the colors, either a bit depth or a fixed retro palette, and decide whether you want dithering. The preview updates as you change each setting, and you download the result as a PNG. The conversion runs in your browser, so your photo is never uploaded.
What the converter does to your photo
Every pixel art tool on this site works in three steps. First it shrinks the photo to a small grid: each block of pixels, for example 8 × 8, is averaged into one pixel. Then it reduces the colors of that grid to a bit depth or a palette, with optional dithering. Finally it enlarges the grid again with nearest-neighbor scaling, so every pixel becomes a sharp square.
Colors are reduced on the small grid, before the enlargement. That means every color change and every dither dot is one whole block, which is how hand-made pixel art is built.
Step 1: Set the pixel size
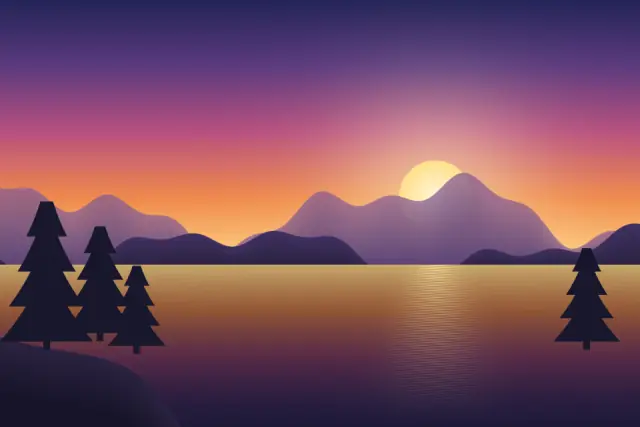
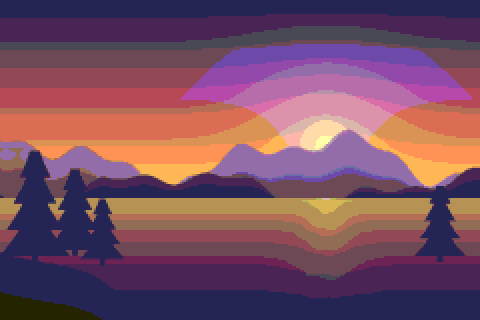
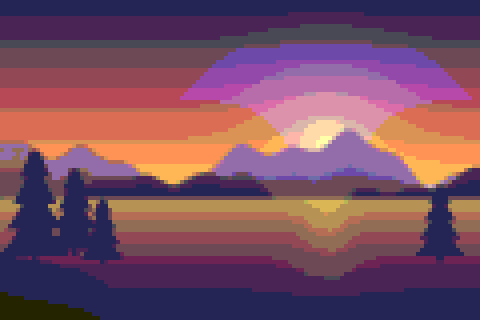
The Pixel size slider goes from 1 to 48. Each block of that many source pixels becomes one pixel of the result. A 4,000 × 3,000 photo at pixel size 8 becomes a 500 × 375 grid; at pixel size 40 it becomes 100 × 75.
Original illustration
Pixel size 4
Pixel size 8
Pixel size 16
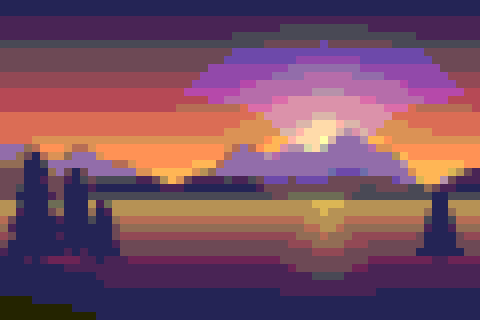
Small pixel sizes keep faces and text readable but look less like pixel art. Large pixel sizes give the classic chunky look but lose small details first. If you need an exact square size for a game sprite, an icon or an avatar, use Sprite size instead: it crops the center of the photo to a square and makes a grid of exactly 16, 32, 64, 128 or 256 pixels. The pixel art sizes guide explains which sizes are common for what.
Step 2: Choose the colors
The Palette menu decides which colors the result can use.
- By bit depth uses the Bit depth setting: 24-bit keeps every color and only pixelates, 16-bit allows up to 65,536 colors, 8-bit up to 256, and 4-bit a fixed set of 16.
- From the image builds a palette of 2 to 64 colors out of your photo, so the result keeps the photo's own color scheme.
- The retro palettes (PICO-8, Game Boy, NES-style, Commodore 64, EGA, CGA and Minecraft wool) use a fixed list of colors from old consoles, computers and games.
Each pixel then takes the nearest color available. For a retro look, a fixed palette usually does more than a lower bit depth, because 16-bit and even 8-bit color still have many colors. The retro color palettes guide shows every palette with its hex codes, and the 8-bit vs 16-bit guide explains the bit depths.
The Quick styles row sets a combination in one click: 8-bit + FS, PICO-8, Game Boy, 16-bit and 24-bit.
Step 3: Decide on dithering
Dithering mixes two palette colors in a pattern to suggest shades the palette doesn't have. You can choose None, Ordered (Bayer 4×4), Ordered (Bayer 8×8) or Floyd-Steinberg. Turn it on when the photo has gradients, like a sky or a face, and you use a small palette. Leave it off for logos, sprites and anything with flat areas of color. The dithering guide compares the methods side by side.
Step 4: Set the output size and download
Output size decides how big the downloaded file is. Original size enlarges each pixel back to its block size, so the result is about as large as your photo. The other choices give 1×, 2×, 4×, 8× or 16× the pixel grid. 1× is the grid itself, which is handy for game engines and Minecraft build plans; larger sizes are better for sharing, since many apps blur small images when they enlarge them. All scaling uses nearest-neighbor, so edges stay sharp. The guide to resizing pixel art explains why that matters.
Two more switches are useful for some photos. Square crop cuts the center of the image to a square for avatars and icons. Crisp transparency makes soft, half-transparent edges either fully solid or fully transparent. You can download a PNG, an animated GIF or a sprite sheet.
Tips by type of photo
Portraits and selfies
Faces lose their features first. Crop tightly so the face fills most of the frame, or turn on Square crop, and use a smaller pixel size than you would for a landscape. Fixed retro palettes have few skin tones, so From the image with 16 to 32 colors often keeps skin looking natural. The pixel art avatar maker starts with a square crop for this kind of picture.
Landscapes and skies
Big shapes survive large pixel sizes well, so you can go chunkier here. Skies are smooth gradients, which is where a small palette shows bands. Floyd-Steinberg or Bayer 8×8 dithering turns those bands into a softer transition.
Pets and animals
Fur becomes noisy when it is reduced to a few colors, especially with Floyd-Steinberg dithering. A slightly larger pixel size, or dithering set to None, keeps the coat calmer. A plain background helps the animal stand out from it.
Logos and graphics
Logos are already made of a few flat colors. Use From the image with the number of colors in the logo, leave dithering off, and turn on Crisp transparency if the logo has a transparent background. The pixel art logo maker starts with those settings.
Preparing the photo
A few edits before converting make a visible difference. Crop away everything that isn't the subject, since every block spent on background is a block not spent on the subject. Raising contrast and saturation helps the subject stay separate from its surroundings after the colors are reduced. If you want a sprite or sticker with no background, remove it first with the background remover and convert the transparent PNG.